A stripped peacock quill nymph is one of my go-to fly patterns for trout and grayling fishing on freestone rivers like the Welsh Dee. It’s simple to tie and has been…
the downfall of countless trout and grayling.
A quill nymph typically imitates the aquatic stages of insects such as stone-clinging and agile darting nymphs. The effectiveness of the peacock quill nymph is down to it being a great imitation of the segmented-body natural nymphs that are found in freestone rivers.
Making them simply irresistible.
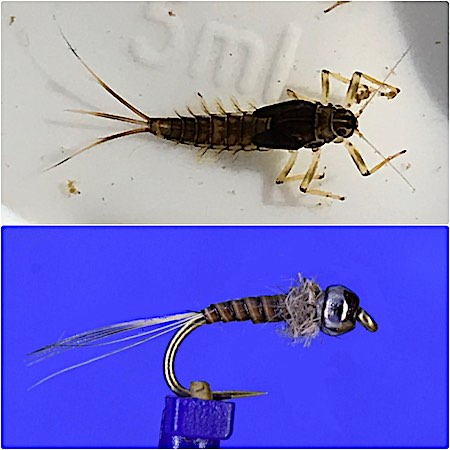
It’s a fly that I tie in a range of styles and colours by varying the hook and the colours of the quill, thorax, and bead. Also, adding a hot spot tag or collar helps to entice takes when water is slightly coloured.
However, for this post, I’m going to demonstrate tying the pattern I fish most of the time but will follow up with some variations I find useful.
Peacock Quill Nymph tying instructions:
Material list:
- Hook: #18 to #12 FASNA F-400
- Bead: 2.5 to 3.5 mm tungsten
- Thread: 8/0 Olive Uni-Thread
- Tail: 3-4 Coq De Leon fibres
- Body: Stipped peacock quill coated with UV resin
- Thorax: HENDS Hare dubbing No.2
Step-by-step fly-tying instructions:
Don’t overdress the nymph because one with a slim body profile is more effective at catching trout and grayling. Also, if you’re new to fly tying, it’s an easy nymph to tie because the materials needed are cheap and easily obtained.
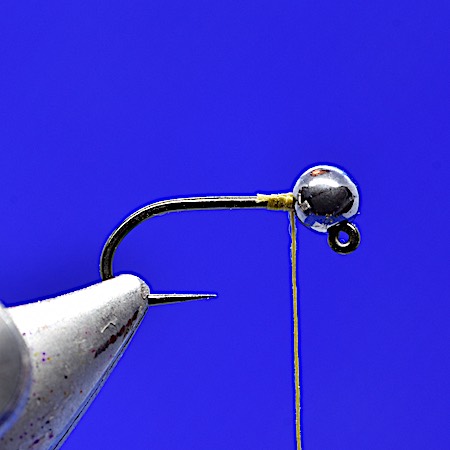
Step 1. Thread a 3.5 mm slotted tungsten bead onto a #14 FASNA F-400 hook. Secure the bead with the olive tying thread.
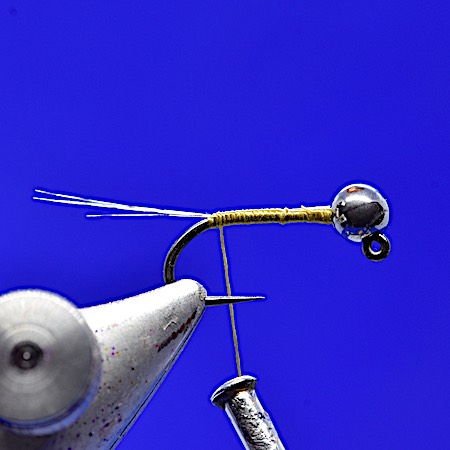
Step 2. Tie in 3 – 4 Coq De Leon fibres with the tying thread and towards the hook. Stopping where the barb would be.
Cock de Leon tails work best on this nymph and you can add a small coloured tag to enhance the fly or leave it natural, as in this example. Now, take a peacock feather and select a quill surrounding the eye of the feather, and using an eraser rub off the small fibres to leave a clean quill.
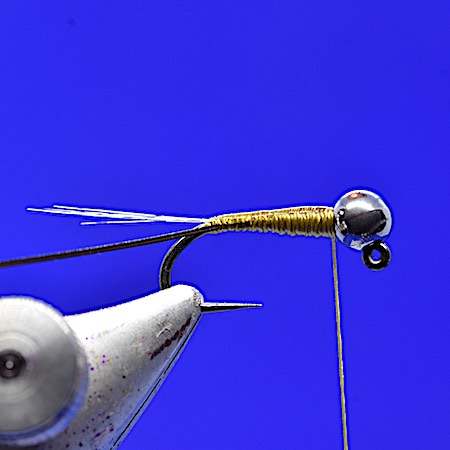
Step 3. Prepare a stripped peacock quill by removing the fluffy fibres from the stem. Align the quill along the shank and secure it with thread wraps at the bend of the hook. Build a tapered body with the tying silk. The thread must be smooth so the quill sits neatly on the underbody of the fly. Coat the thread body with super glue.
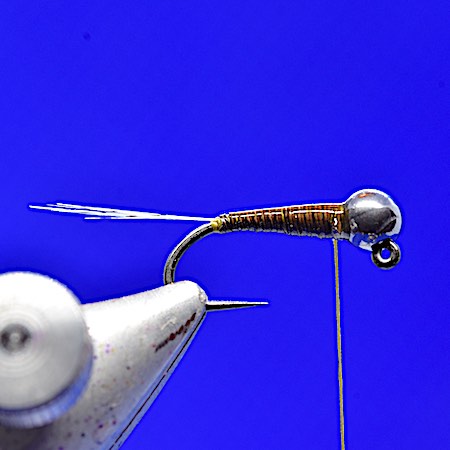
Step 4. Proceed to wrap the stripped peacock quill forward, forming the body. Make touching turns to ensure a smooth and tapered body. Secure the quill with a couple of turns, make a half hitch and trim the waste end. To protect the fragile quill body coat it with either UV resin or varnish.
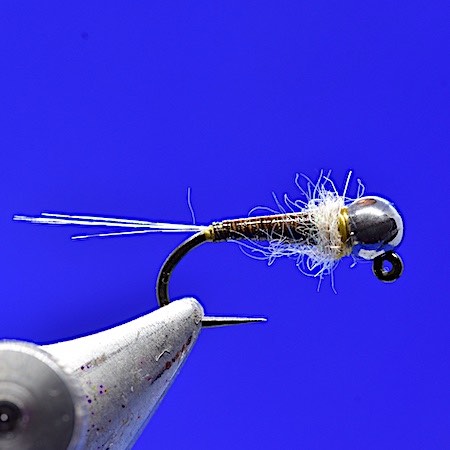
Step 5. Once you have cured the UV resin, lightly dub the thread with HENDS Hare dubbing No.2 and form a thorax behind the tungsten bead. Whip finish and varnish.
If you are new to fly tying, it’s worth watching the following video by Davie McPhail that demonstrates the basic principles of tying a peacock quill nymph.
My Favourite Peacock Quill Nymph Variations
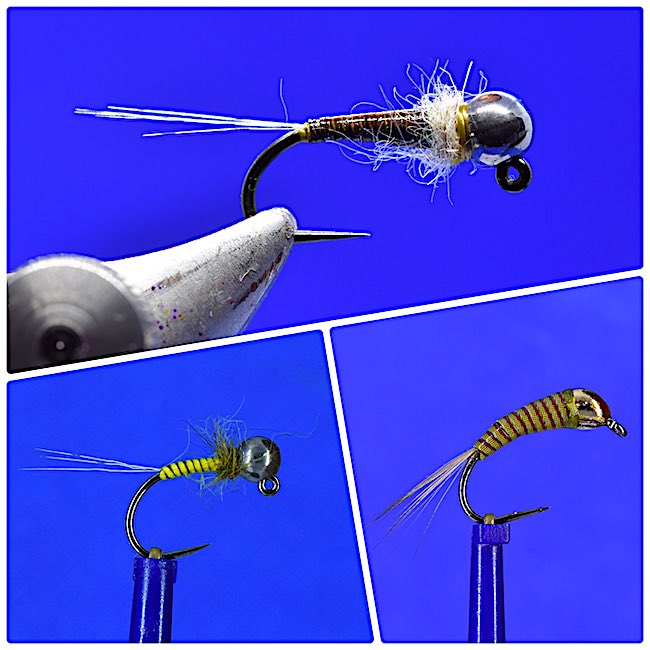
Quill nymphs can be customized and varied in numerous ways to match different insect species or mimic specific stages of their lifecycle. Experiment with different colour schemes, sizes, and weights to adapt to different fishing conditions.
These nymphs can be tied on grub hooks, jig hooks or small fine wet hooks the smaller the better I generally tie them from size 18 to size 12.
Orange tagged Quill Nymph
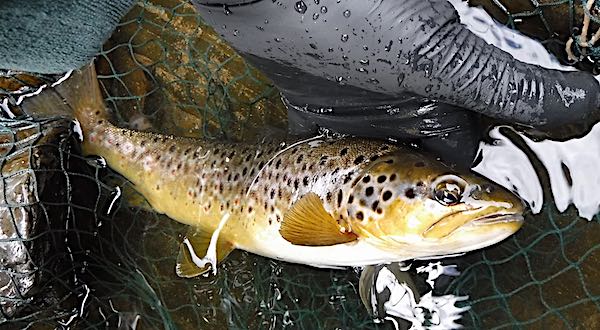
On cold spring days, a brighter version of the standard quill nymph with a fluorescent orange tag and silver bead has tempted some beautiful brown trout.
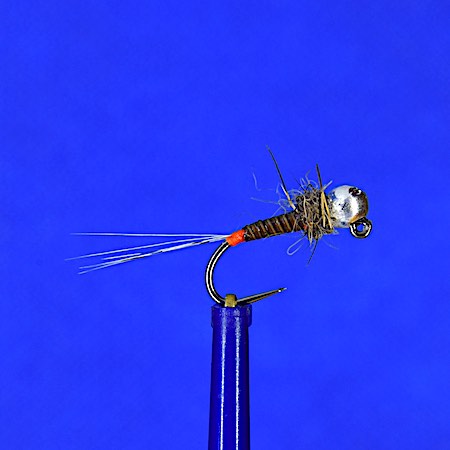
- Hook: #16 FASNA F-400
- Bead: 3 mm silver tungsten
- Thread: 12/0 Nano silk
- Tag: Fluorescent orange thread
- Tail: 3-4 Coq De Leon fibres
- Body: Stipped peacock quill coated with UV resin
- Thorax: Squirrel Fox dubbing
Yellow Quill Nymph
This yellow-bodied version is a great nymph to try during May and June when Yellow May duns are hatching and trout refuse to take dry flies.
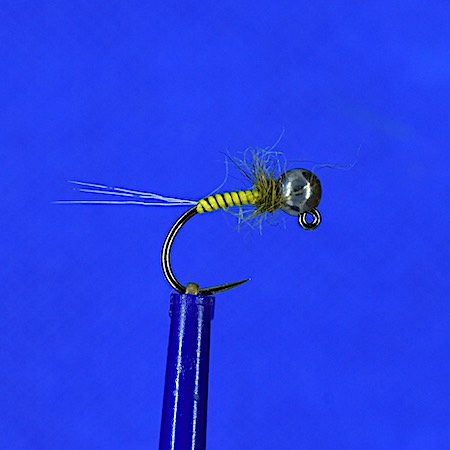
- Hook: #16 HENDS BL124
- Bead: 3 mm tungsten
- Thread: 12/0 olive nano silk
- Tail: 3-4 blue dun cock fibres
- Body: Stipped yellow quill coated with UV resin
- Thorax: Olive Hares Ear dubbing
Purple TB Peacock Quill Nymph
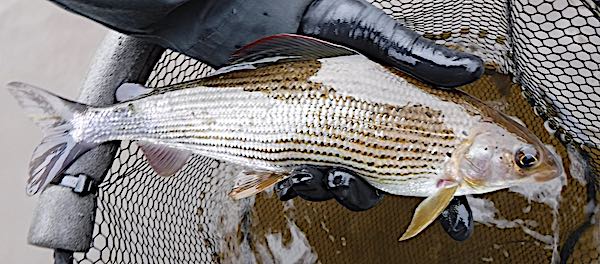
In autumn and winter, grayling often prefer this purple-beaded version.
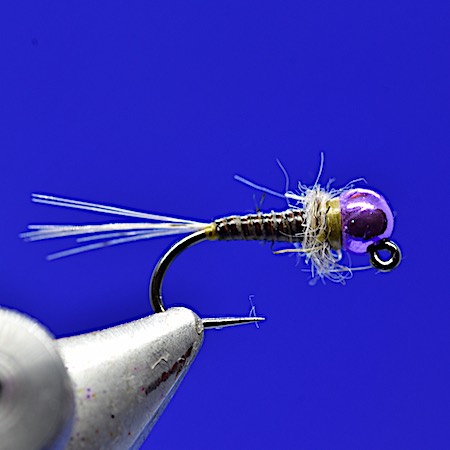
- Hook: #16 FASNA F-400
- Bead: 3 mm purple tungsten
- Thread: 8/0 olive thread
- Tail: 3-4 Coq De Leon fibres
- Body: Stipped peacock quill coated with UV resin
- Thorax: Light hares ear dubbing
Orange TB Quill Nymph
This is another variation to try when grayling fishing on cold winter days.
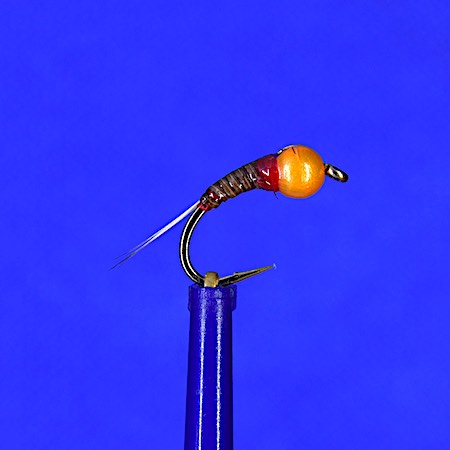
- Hook: #16 Kamasan B100
- Bead: 3 mm metallic orange tungsten
- Thread: 8/0 read thread
- Tail: 3-4 Coq De Leon fibres
- Body: Stipped peacock quill coated with UV resin
- Thorax: Red thread
Tungsten Jig-back Quill Nymph
Another method of tying these very successful nymphs is to use SEMPERFLI synthetic quills. The synthetic quill is tougher and is great for tying material for heavy tungsten jig point flies.
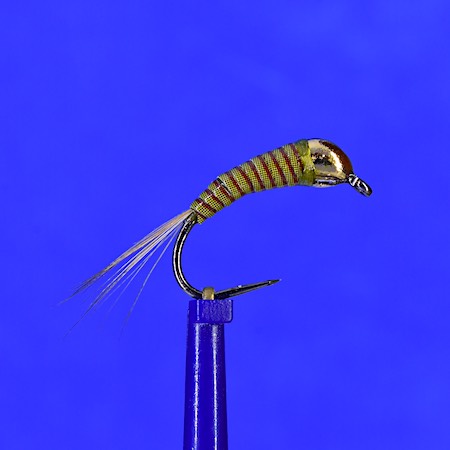
- Hook: #12 Partridge Grub K4AY
- Weight: Large copper tungsten jig back
- Thread: 12/0 olive nano silk
- Tail: 3-4 blue dun cock fibres
- Body: Olive Synthetic peacock quill
I love tying with stripped peacock quills, not only for nymphs but for dry flies too. It gives flies a nice segmented look when you get a nice tapered body.
Fishing the Peacock Quill nymph
These nymphs are ideally suited for tight line nymphing techniques (Euro Nymphing, French Leader, Czech nymphing). Usually, it’s best to fish the nymphs in streamy runs, riffles, and pool heads, because water turbulence brings the nymph to life…
making them irresistible.
During olive hatches, fishing a mirco tungsten beaded quill nymph below an olive dry fly (Klink & Dink method) is often a successful approach.
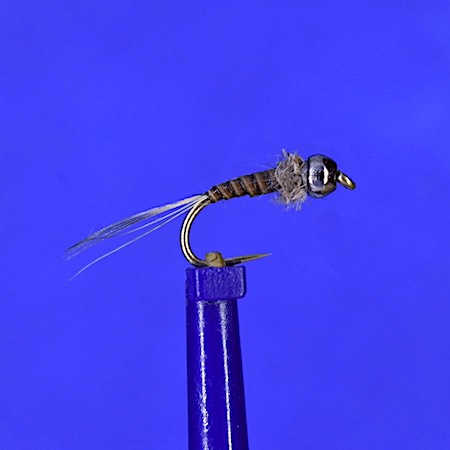
Micro TB Quill Nymph
- Hook: #16 Kamasan B170
- Bead: 1.5 mm tungsten
- Thread: 12/0 grey nano silk
- Tail: 3-4 blue dun cock fibres
- Body: Stipped peacock quill coated with UV resin
- Thorax: Hares Ear dubbing
Summary
Mastering the art of tying peacock quill nymphs opens up a world of possibilities for fly fishing success. With its realistic profile, subtle movement, and adaptability, the quill nymph is a pattern that consistently catches fish in various water conditions.
Finally, I hope this article stimulates you to tie the peacock quill nymph and try them on your local rivers or take a visit to fish them on the Welsh Dee.
Some really nice nymphs here, simple but effective, like most of the older patterns that have passed the passage of time “Hares Ear” etc and variants. Watch out Grayling here I come!
Hi Robert,
Great to hear you found it interesting and thanks for the feedback.
Tight lines, Andrew
Hi Andrew – do you have any tips on how to make quills more supple? My most recent delivery of polish quills are proving to be very brittle [I’m losing about a third to breakages]. I’m trying soaking a few in olive oil for a few days to see if that might help, but any other tips would be most welcome.
I normally hand-strip peacock quills when needed and they rarely break. However, when I’ve used stripped polish quills I soak them in water for about 30 minutes and this seems to help but a few still seem to split depending on the batch. I’m not keen on using oil because it’s messy and offers no advantage.
I hope this helps, Andrew
Hi Andrew,
a few weeks a go you kindly suggested I soak my stripped quills for half an hour in water before tying them, in order to reduce their brittleness. Just wanted to let you know this has worked for me.
Many thanks!
doc dave
Hi Dave,
Great to hear it worked.
Cheers, Andrew